How to Make a Origami Flat Cap
Learn how to make an easy origami paper hat with newspaper, construction paper, or any other paper you have around the house. It's simple with this step-by-step tutorial and fun to wear for everyone!

Origami is so fun for kids, and it helps develop hand-eye coordination, fine motor skills, and spatial and perception skills. Paper folding is an excellent craft for kids of all ages, and you never know if your kids can do it or not until you let them try.
If your kids have never done origami, this origami paper hat is an easy one to start with. There are no confusing folds like the inside reverse fold and it takes minutes to make one.
The best thing about making a paper hat is that you can use all different kinds of paper. If you are looking for one to fit an adult's head, then you can use the morning newspaper. For a child's head, an A4 paper may be big enough. And you can make all sorts of little hats out of origami paper or construction paper for all the stuffed animals and dolls in the house!
How to Make an Origami Paper Hat
Materials:
- Rectangular paper
Instructions:
1. Grab a piece of rectangular paper. Don't worry about the dimensions, as long as the paper is rectangular you can make a paper hat out of it. Just note that the more square the paper is, the taller the hat will be in comparison to the width.
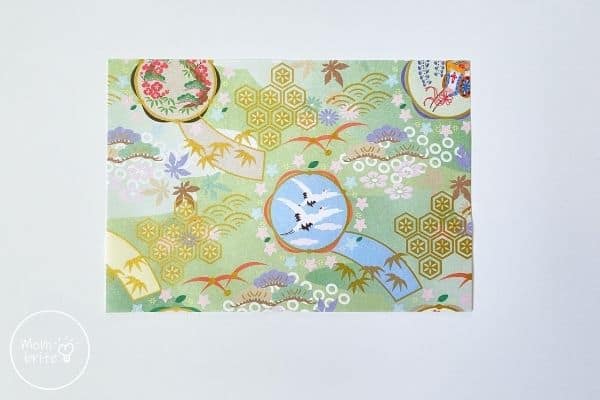
2. Fold the paper half lengthwise.
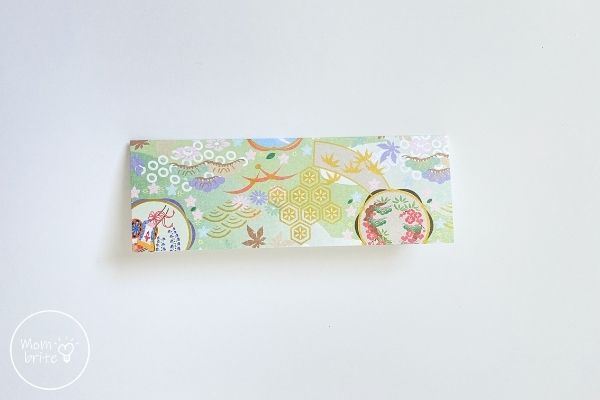
3. Unfold the paper completely. There should be a crease that runs through the middle of the paper.
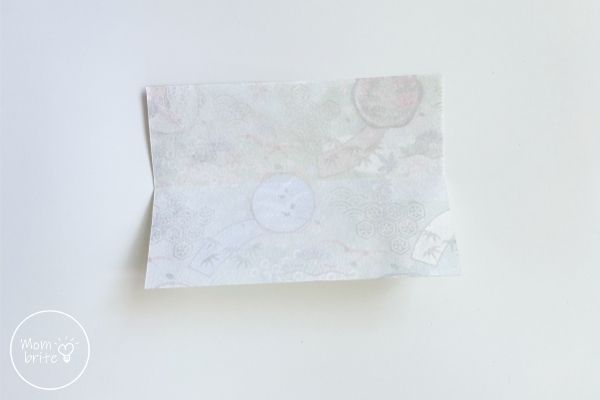
4. Turn the paper 90 degrees so now the crease is vertical. Fold the paper in half by folding the top edge down toward the bottom edge.
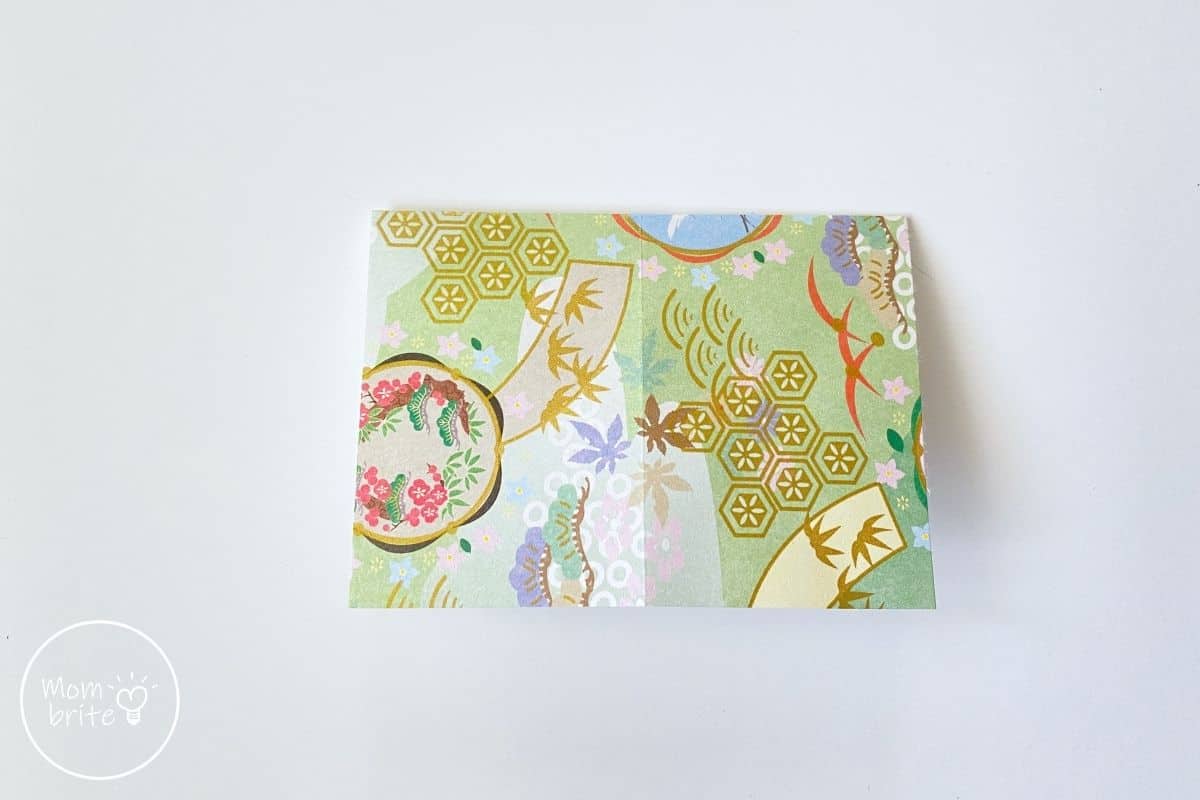
5. Take the top right corner and fold it down to the center crease to form a triangle.
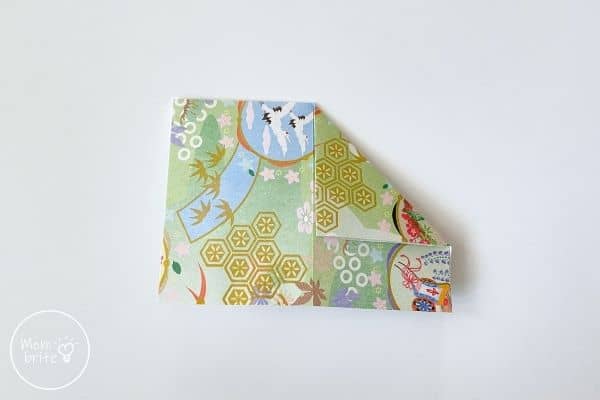
6. Repeat on the other side.
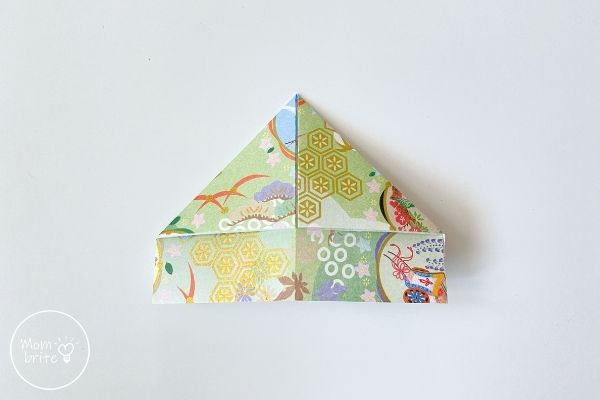
7. Fold the bottom flat up to the bottom of the triangles.
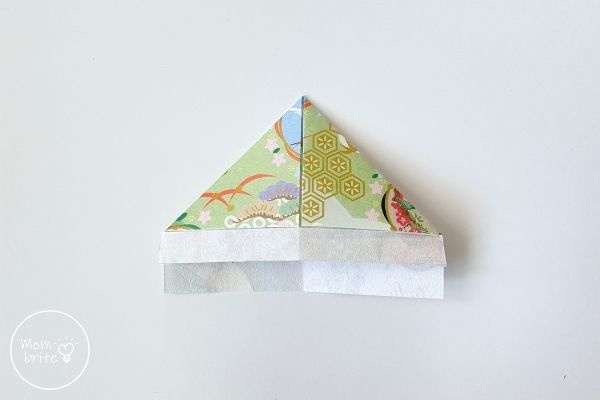
8. Fold the bottom flap up again, this time along the bottom of the triangles. The flap should now over the bottom portion of the triangles.
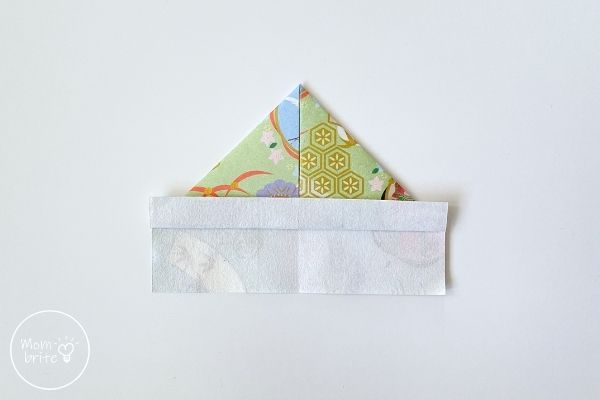
9. Flip the paper over. Similar to step #7, fold the paper up to the bottom of the triangles. It's not as clear on this side where the bottom of the triangles is. You have to look at the left and right sides and see where the triangles meet the two edges.
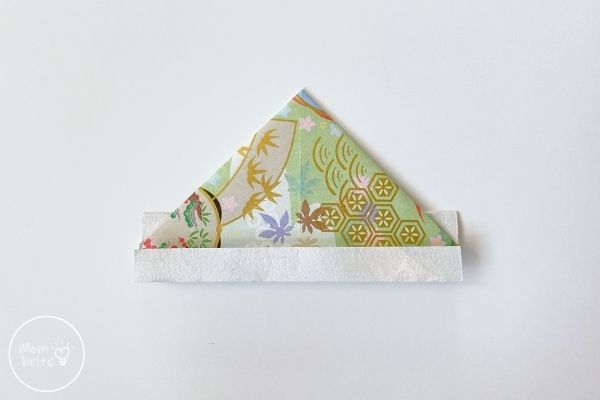
10. Fold the bottom flap up one more time. It should match the bottom flap on the other side.
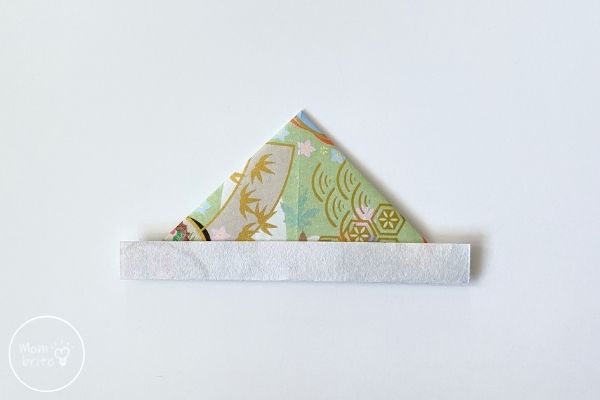
11. Gently open the base of the hat.
Note: If the bottom flaps are having trouble staying in place, you can use a glue stick to stick them to the crown of the hat.
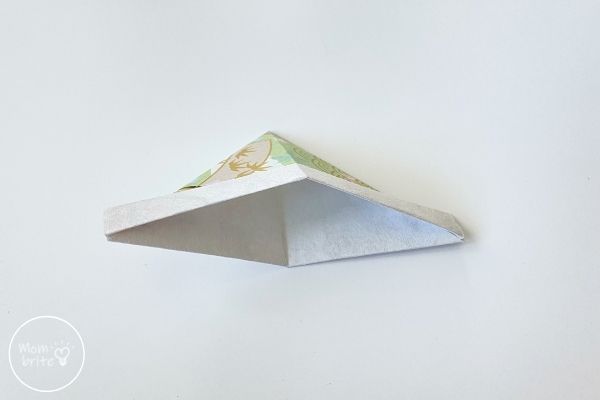
Your paper hat is complete! My daughter insisted that we display it proudly in her dollhouse. It is now officially part of her collection of things to put on her dolls.
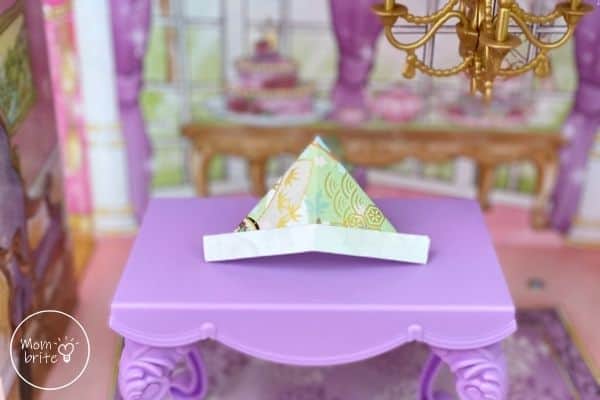
Of course, one paper hat is not enough! Practice makes perfect, right? My daughter proceeded to make many paper hats of different sizes. Even our sweet dog had one to wear!

Related Posts:
- How to Make an Origami Balloon
- How to Make an Origami Ninja Star
- How to Make Origami Flowers
- How to Make an Origami Corner Bookmark
How to Make a Origami Flat Cap
Source: https://www.mombrite.com/paper-hat/
Belum ada Komentar untuk "How to Make a Origami Flat Cap"
Posting Komentar